A Simple îles App
In this guide, let's create a simple minimal îles application.

A Simple îles App
1. New Project Folder
From you terminal or integrated terminal in your code editor (Visual Studio Code),
Navigate to your desired location, create a new project folder and cd into it.
mkdir a-simple-iles-app
cd a-simple-iles-app
2. Create a Minimal Project
The following command will generate a minimal package.json file with default values.
npm init -yNow is a good time to open your project folder in a code editor like Visual Studio Code. The minimal package.json shall look like this.
{
  "name": "a-simple-iles-app",
  "version": "1.0.0",
  "main": "index.js",
  "scripts": {
    "test": "echo \"Error: no test specified\" && exit 1"
  },
  "keywords": [],
  "author": "",
  "license": "ISC",
  "description": ""
}
3. Install îles
Install iles using the following command.
npm add -D ilesThis will create a package-lock.json which contains all the recursive set of dependencies. The dependencies are created within the node_modules folder.
4. Add îles Executables
Add the iles executables in your scripts section of your package.json.
Take a note that the
nowcommand will run bothbuildandpreviewsequentially.
  "scripts": {
    "dev": "iles dev",
    "build": "iles build",
    "preview": "iles preview --open",
    "now": "npm run build && npm run preview",
    "test": "echo \"Error: no test specified\" && exit 1"
  },
5. Name and Description
Create a new folder src in your project root, and a file site.ts inside it.
Give your site a name and description like this:
export default {
  title: 'Cafe Tee Kaapi',
  description: 'Sip, Savor, and Spark Ideas!',
}
6. Add a layout
Our site shall have two pages that will share the same header and footer. So, it's a good idea to have a layout common for all these two pages.
Create a new folder src/layouts, and a file default.vue inside it. Here is a simple default layout with navigation in the header and an empty footer.
Take a note of the
slottag into which various pages will beslotted-inwith a commonheaderandfooter, above and below it.
<script setup lang="ts">
  import { computed } from 'vue'
  const { route } = usePage()

  const navs = [
    { title: 'Home', to: '/' },
    { title: 'About Us', to: '/about-us' },
  ]
  const currentPath = computed(() => {
    return route.path
  })
  // Other site-wide logic
</script>

<template>
  <div>
    <header>
      <nav>
        <!-- NavBar vue island with client hydration strategy -->
        <a
          v-for="({ title, to }, index) in navs"
          :key="index"
          :href="to"
          :class="{ active: currentPath === to }"
        >
          {{ title }}
        </a>
      </nav>
      <!-- SearchBar solid island with client hydration strategy -->
    </header>
    <main>
      <!-- Pages are typically static with few dynamic islands -->
      <!-- Pages using this default layout will load in this slot -->
      <slot />
    </main>
    <footer>
      <!-- TheFooter static vue component with no interactions -->
    </footer>
  </div>
</template>

<style>
  body {
    font-family: Arial, sans-serif;
    margin: 0;
    height: 200vh;
  }
  nav {
    display: flex;
    justify-content: center;
    gap: 1rem;
    padding: 1rem;
  }
  a {
    text-decoration: none;
    font-weight: bold;
  }
  a.active {
    text-decoration: underline;
  }
</style>
7. Create your Home Page
It's time to create our first page - the Home Page.
Create a new folder src/pages, and your home page as index.vue inside it. Here is a simple page authored as a Vue Single File Component.
The home page displays a card with your site's name, description, and last updated date, retrieved via the usePage composable (auto-imported by îles), which provides site, frontmatter, and meta details.
Take a note that the names of the layouts and pages must be in lowercase.
<page>
  title: Home
  description: First Coffee, Then Conquer!
</page>

<script setup lang="ts">
  const { site, frontmatter, meta } = usePage()

  const { title: siteTitle } = site
  const { description } = frontmatter
  const { lastUpdated } = meta
</script>

<template>
  <section class="hero">
    <div class="card">
      <h1>Welcome to {{ siteTitle }}</h1>
      <p>{{ description }}</p>
      <p>Site last updated: {{ lastUpdated.toDateString() }}</p>
    </div>
  </section>
</template>

<style scoped>
  .hero {
    display: flex;
    justify-content: center;
    align-items: center;
    height: 60vh;
  }

  .card {
    text-align: center;
    padding: 2rem;
    background: #fff;
    border-radius: 8px;
    box-shadow: 0 4px 6px rgba(0, 0, 0, 0.1);
    border: 1px solid #ddd;
  }

  .card h1 {
    font-size: 2rem;
    margin-bottom: 0.5rem;
  }

  .card p {
    font-size: 1rem;
    color: #555;
  }
</style>
8. Start your Development Server
Let's experience Vite's developer experience with instant HMR while authoring our pages. Start your development server with:
npm run devOnce your development server is up and running, open its URL in your browser.
In your home page index.vue, add the following tag below the paragraph (<p> tag) displaying the last-updated datetime. You'll notice that the browser updates instantly with HMR, without a page refresh.
<small>- Built with îles 💚</small>9. Create the About Us Page
îles provides excellent support for authoring your pages with markdown (.md, .mdx). Create a second page src/pages/about-us.md as shown below.
To see your second page, navigate to it by clicking on the About Us link in the navbar.
Take a note that the names of the layouts and pages must be in kebab-case.
---
title: About Us
description: Crafting Memories, Brewing History!
---

# This an about page

<style scoped>
main {
  display: flex;
  flex-direction: column;
  justify-content: center;
  align-items: center;
  height: 60vh;
}
</style>
10. Build and Preview
Our minimal site is ready, let's build and preview it locally before deploying it.
The following command will build your page and open it in your browser.
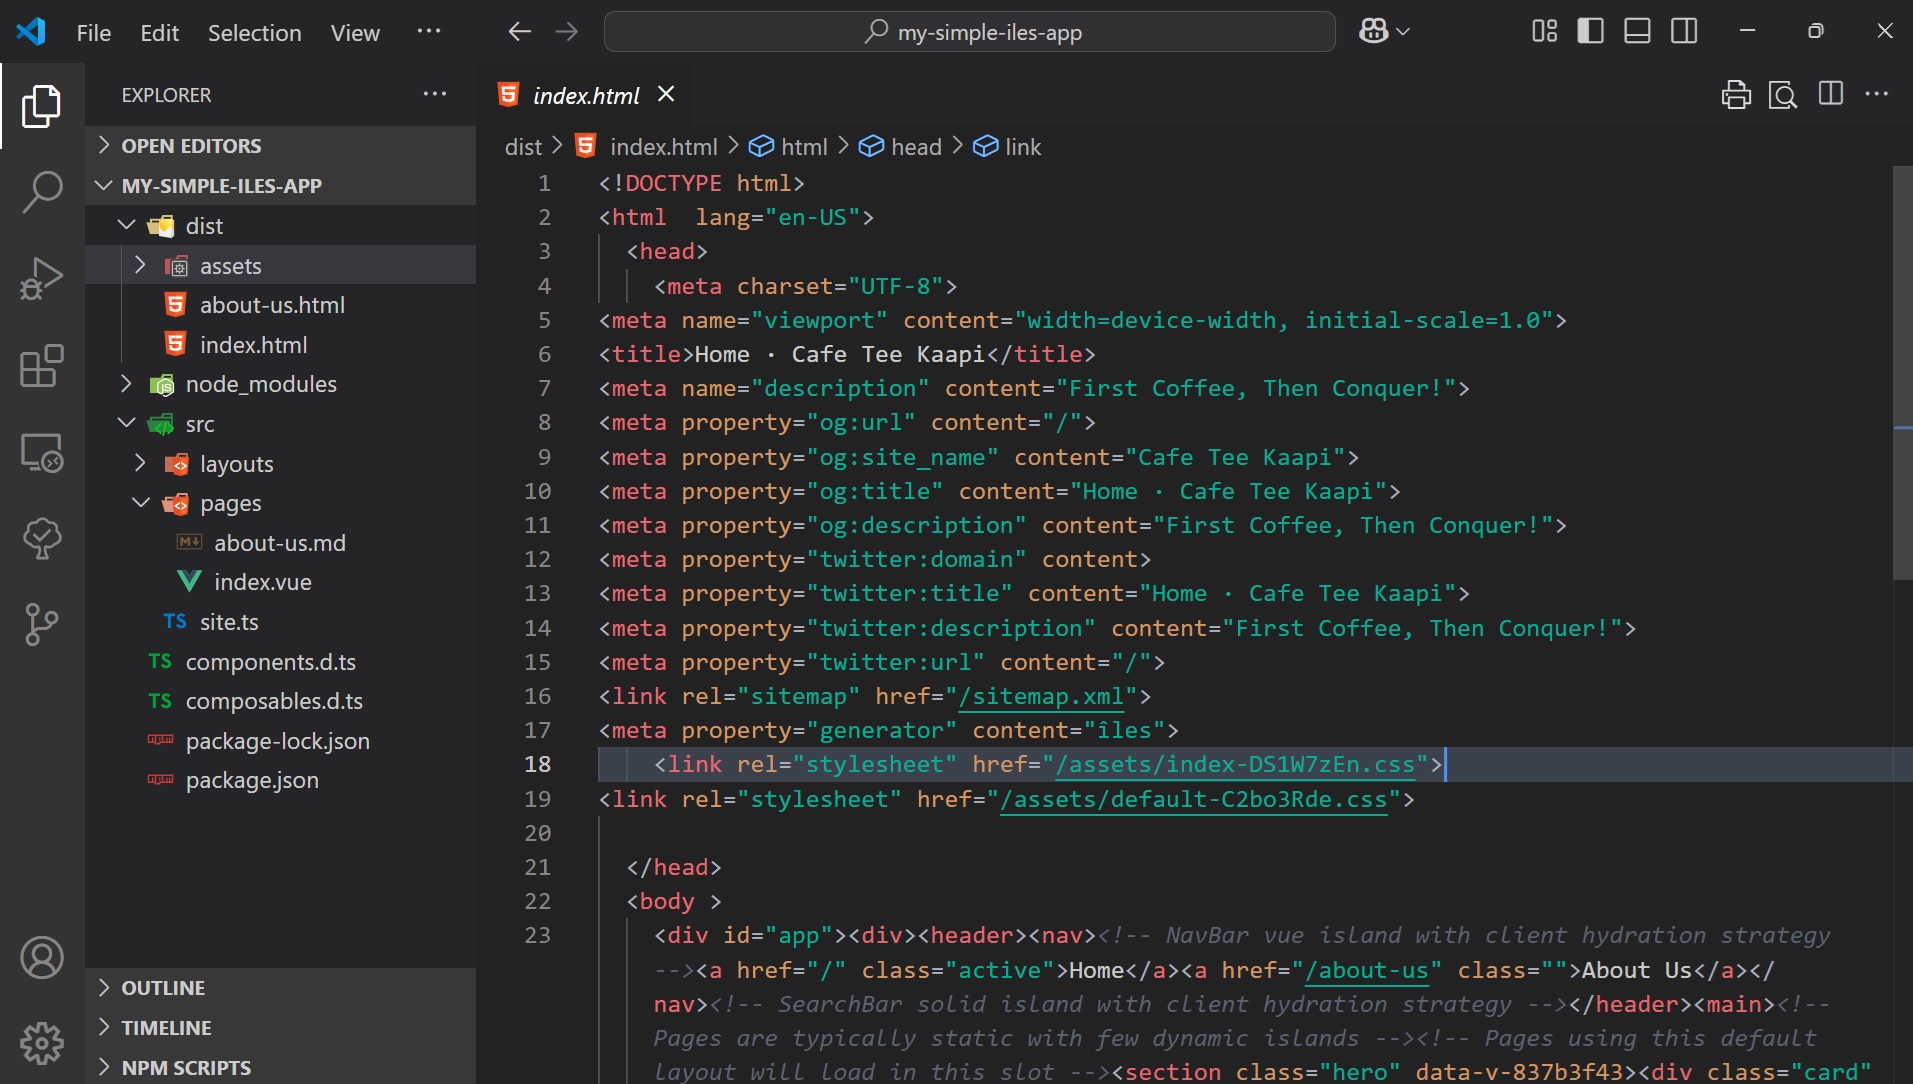
npm run nowCheck the dist folder in your project root to find your two pages statically generated without any JavaScript, as no interactions have been added to the site yet.
A Simple îles App
What's Next
Author more pages in md, mdx or vue formats. Don't forget to add the slug of the new pages you create to the nav array in your default layout (step-6 above).
Learn about the project structure to familiarize yourself with the various conventions and best practices in îles.
To add interactive îslands to your static Îles site, explore using islands and frameworks.
Well Done. Have a joyful Îles experience!