Vanilla Vue to îles
New to Vue? 💚 Scaffold a new Vue project using the following command. Then, convert it into an îles project.
npm create vue@latest # or pnpm, yarn, bunThe scaffolded Vanilla Vue project is powered by Vite and serves as a great example of basic Vue concepts, including the Single File Component structure, props, and slots. It's a Single-Page Application (SPA) with snappy navigation, powered by vue-router.
Introduction
In this guide, we will convert this SPA into a static Multi-Page Application (MPA) site. Once completed, we will build and deploy static HTML pages with zero JavaScript.
The goal is to understand the concepts by migrating between the two flavors (SPA and MPA).
builds static Multi-Page Application (MPA) sites. Checkout Vitepress and Vite-SSG to build static Single Page Application (SPA) sites.
Vanilla Vue App
1. Install îles
Before installing, since îles pre-includes vite, remove "vite": "6.x.x" from your package.json to prevent multiple Vite installations, which could cause TypeScript issues.
npm add -D iles@latest # or pnpm, yarn, bunOnce completed, start your development server with the following CLI command. Alternatively, refer to the usage to add commands to your package.json.
npx iles dev # or pnpm, yarn, bun2. Remove index.html or Its Entry Files
The index.html entry page in your project root does not load any other assets apart from the entry file (/src/main.ts). Therefore, either remove it or delete the below script tag shown below.
<script type="module" src="/src/main.ts"></script>If you want to retain this index.html to add external assets from CDN, refer to the static assets page for details. Additionally, remove the title and meta tags in your custom index.html as Îles will add them automatically.
3. Add iles.config.ts
Create an iles.config.ts file at your project root as shown below.
import { defineConfig } from 'iles'

export default defineConfig({
  siteUrl: 'https://myawesomeidea.com', // Your site URL
  modules: [
    // Add iles modules here, refer to Modules page
  ],
})
Existing vite.config.ts
The vite.config.ts file in your project root, you can either keep it or migrate its configuration into the vite key of iles.config.ts as shown below.
Important Remove @vitejs/plugin-vue (Vite plugin for Vue)
-
Keeping
vite.config.ts: Remove@vitejs/plugin-vuefrom its plugins array to avoid conflicts, as îles already includes it. -
Migrating to
iles.config.ts: Do not include@vitejs/plugin-vuein the migration. After migrating, removevite.config.tsfile from your project root. You can also skip migratingresolve.aliasobject, as Îles already covers that.
import { defineConfig } from 'iles'
import vueDevTools from 'vite-plugin-vue-devtools'

export default defineConfig({
  siteUrl: 'https://myawesomeidea.com', // Your site URL
  modules: [
    // Add iles modules here, refer to Modules page
  ],
  vite: {
    // Vite configuration goes here
    plugins: [
      // Add vite plugins here
      vueDevTools(),
    ]
  }
})
4. Add app.ts
- Create an
src/app.tsfile as shown below. - Copy
import './assets/main.css'from your entry filesrc/main.tsintoapp.ts. - Remove or archive
main.tsas it's not required anymore.
import '@/assets/main.css' // from `src/main.ts`
import { defineApp } from 'iles'

export default defineApp({
  head ({ frontmatter, site }) {
    return {
      meta: [
        { property: 'author', content: site.author },
        { property: 'keywords', content: () => frontmatter.tags },
      ],
      htmlAttrs: { lang: 'en-US' },
      bodyAttrs: {},
    }
  },
})
5. Add site.ts
Create an src/site.ts file as shown below:
export default {
  title: 'Cafe Tee Kaapi',
  description: 'Sip, Savor, and Spark Ideas!',
}
6. App.vue to Default Layout
- Create a new
src/layoutsfolder, copyApp.vueinto it, and rename it todefault.vue. - Convert the
RouterLinkcomponents to simple anchor tags, change thetoprop tohref. - Replace
<RouterView />with<slot/>. This slot will load all your pages in your site.
Your layouts/default.vue will look like the below.
<script setup lang="ts">
import HelloWorld from '@/components/HelloWorld.vue'
</script>
<template>
<header>
<img alt="Vue logo" class="logo" src="@/assets/logo.svg"
width="125" height="125" />
<div class="wrapper">
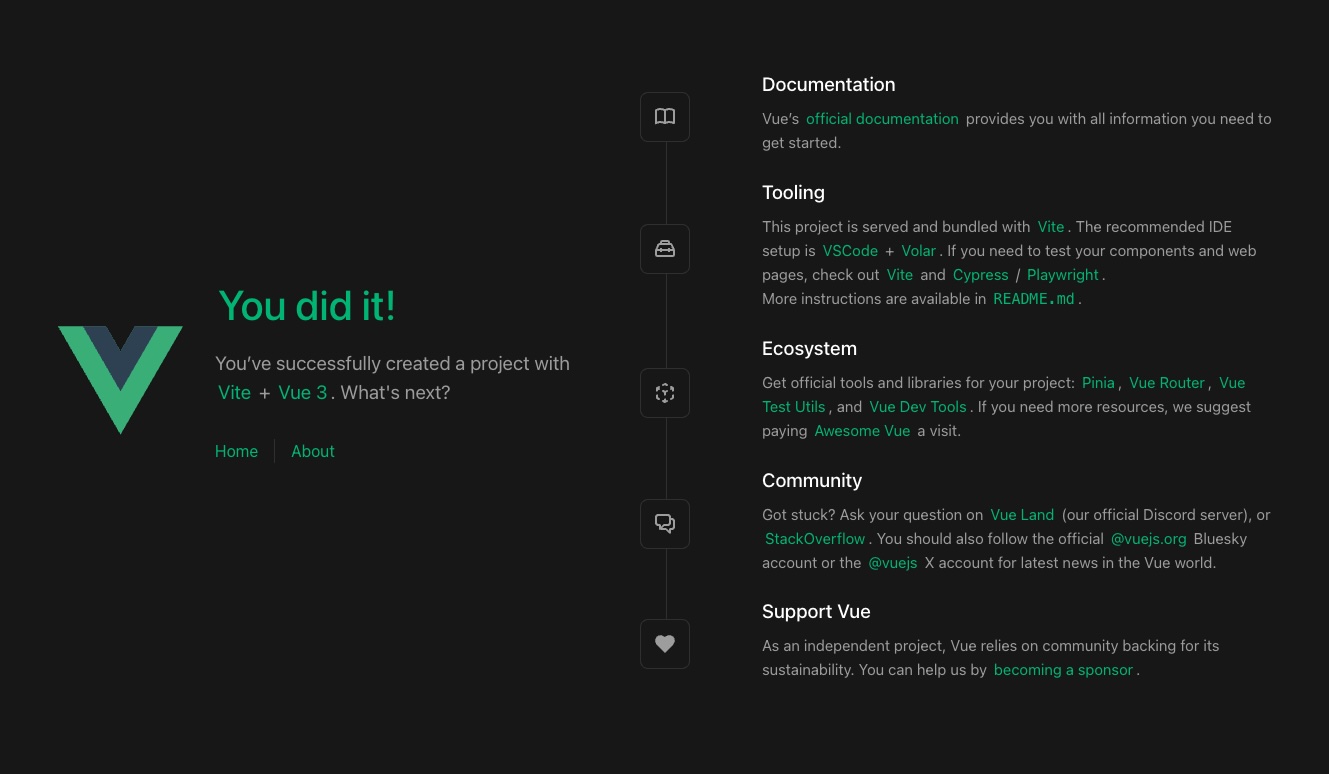
<HelloWorld msg="You did it!" />
<nav>
<a href="/">Home</a>
<a href="/about">About</a>
</nav>
</div>
</header>
<slot />
</template>
<style>
/* Existing styles */
</style>Remove the
src/routerfolder, as îles uses file-based routing. Any custom logic might need to be migrated toapp.ts, your default layout, or one of your interactive Islands.
7. View to Pages
îles uses the pages and layouts folder conventions with filenames in kebab-case.
- Rename the folder that contains all your pages (for example,
src/views) tosrc/pages. - Rename the
.vuefile of your home page (for example,HomeView.vue) toindex.vue. - Rename the
.vuefiles of your other pages to follow kebab-case. For example,AboutView.vuecould be renamed toabout.vue - Add a
<page></page>tag at the top of your page files and add atitleanddescriptionasfrontmatter.
Your index.vue page will look like the below.
<page>
  title: Home
  description: First Coffee, Then Conquer!
</page>

<script setup lang="ts">
import TheWelcome from '../components/TheWelcome.vue'
</script>

<template>
  <main>
    <TheWelcome />
  </main>
</template>
8. Add a New Page
îles provides excellent support for authoring your pages with markdown (.md, .mdx).
- Create a third page
src/pages/our-story.mdas shown below. - Add a third anchor tag for
our-storyundernavinlayouts/default.vue.
---
title: Our Story
description: Crafting Memories, Brewing History!
---

# This is our story page
<!-- within layouts/default.vue -->
<nav>
<a href="/">Home</a>
<a href="/about">About</a>
<a href="/our-story">Our Story</a>
</nav>9. Build Your Site
- Stop your development server by pressing
Cmd/Ctrl+Cin your terminal. - Use the following command to build your site.
- Alternatively, refer to the usage to add commands to your
package.json.
npx iles build # or pnpm, yarn, bunCheck the dist folder to see the three HTML pages generated along with their CSS assets.
Note that zero JavaScript is shipped. To add interactive îslands, refer to the islands and frameworks pages.
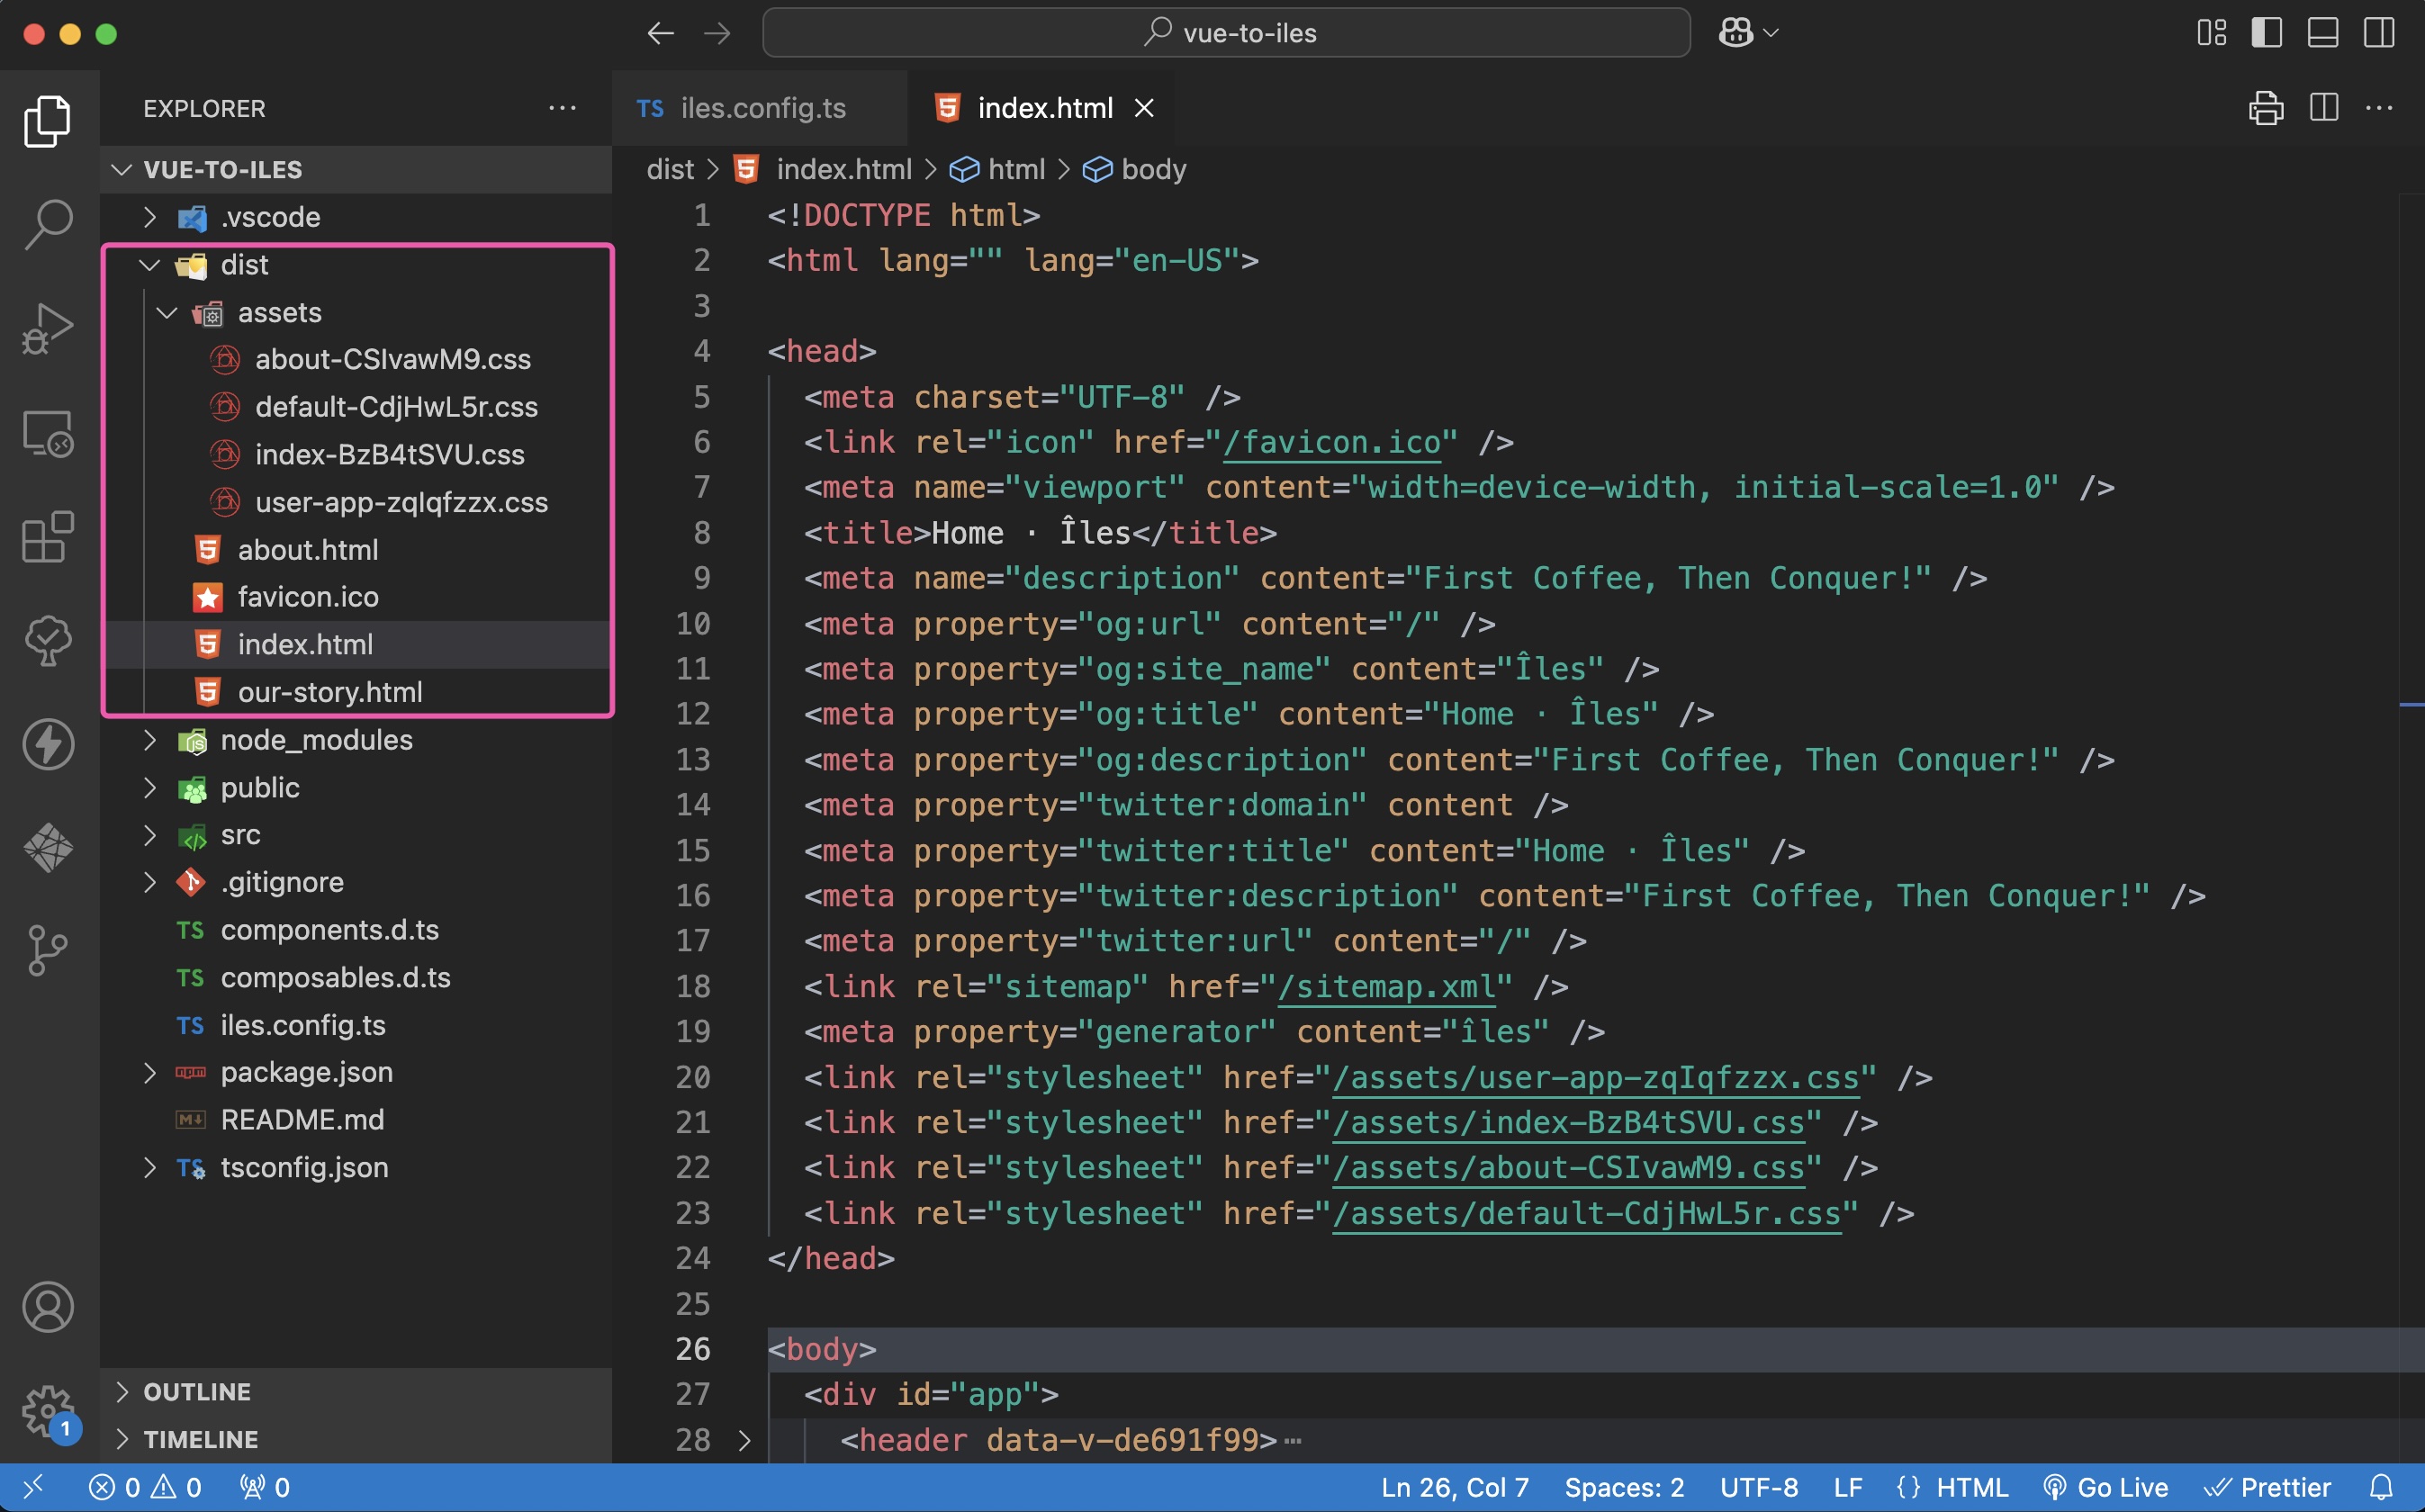
Iles Build
10. Preview Your Site
- Use the following command to preview your site in your local browser.
- Alternatively, drag and drop the
distfolder from your Finder or file-explorer into Netlify Drop for instant deployment and preview. - Test your production site by navigating through the different pages.
npx iles preview # or pnpm, yarn, bun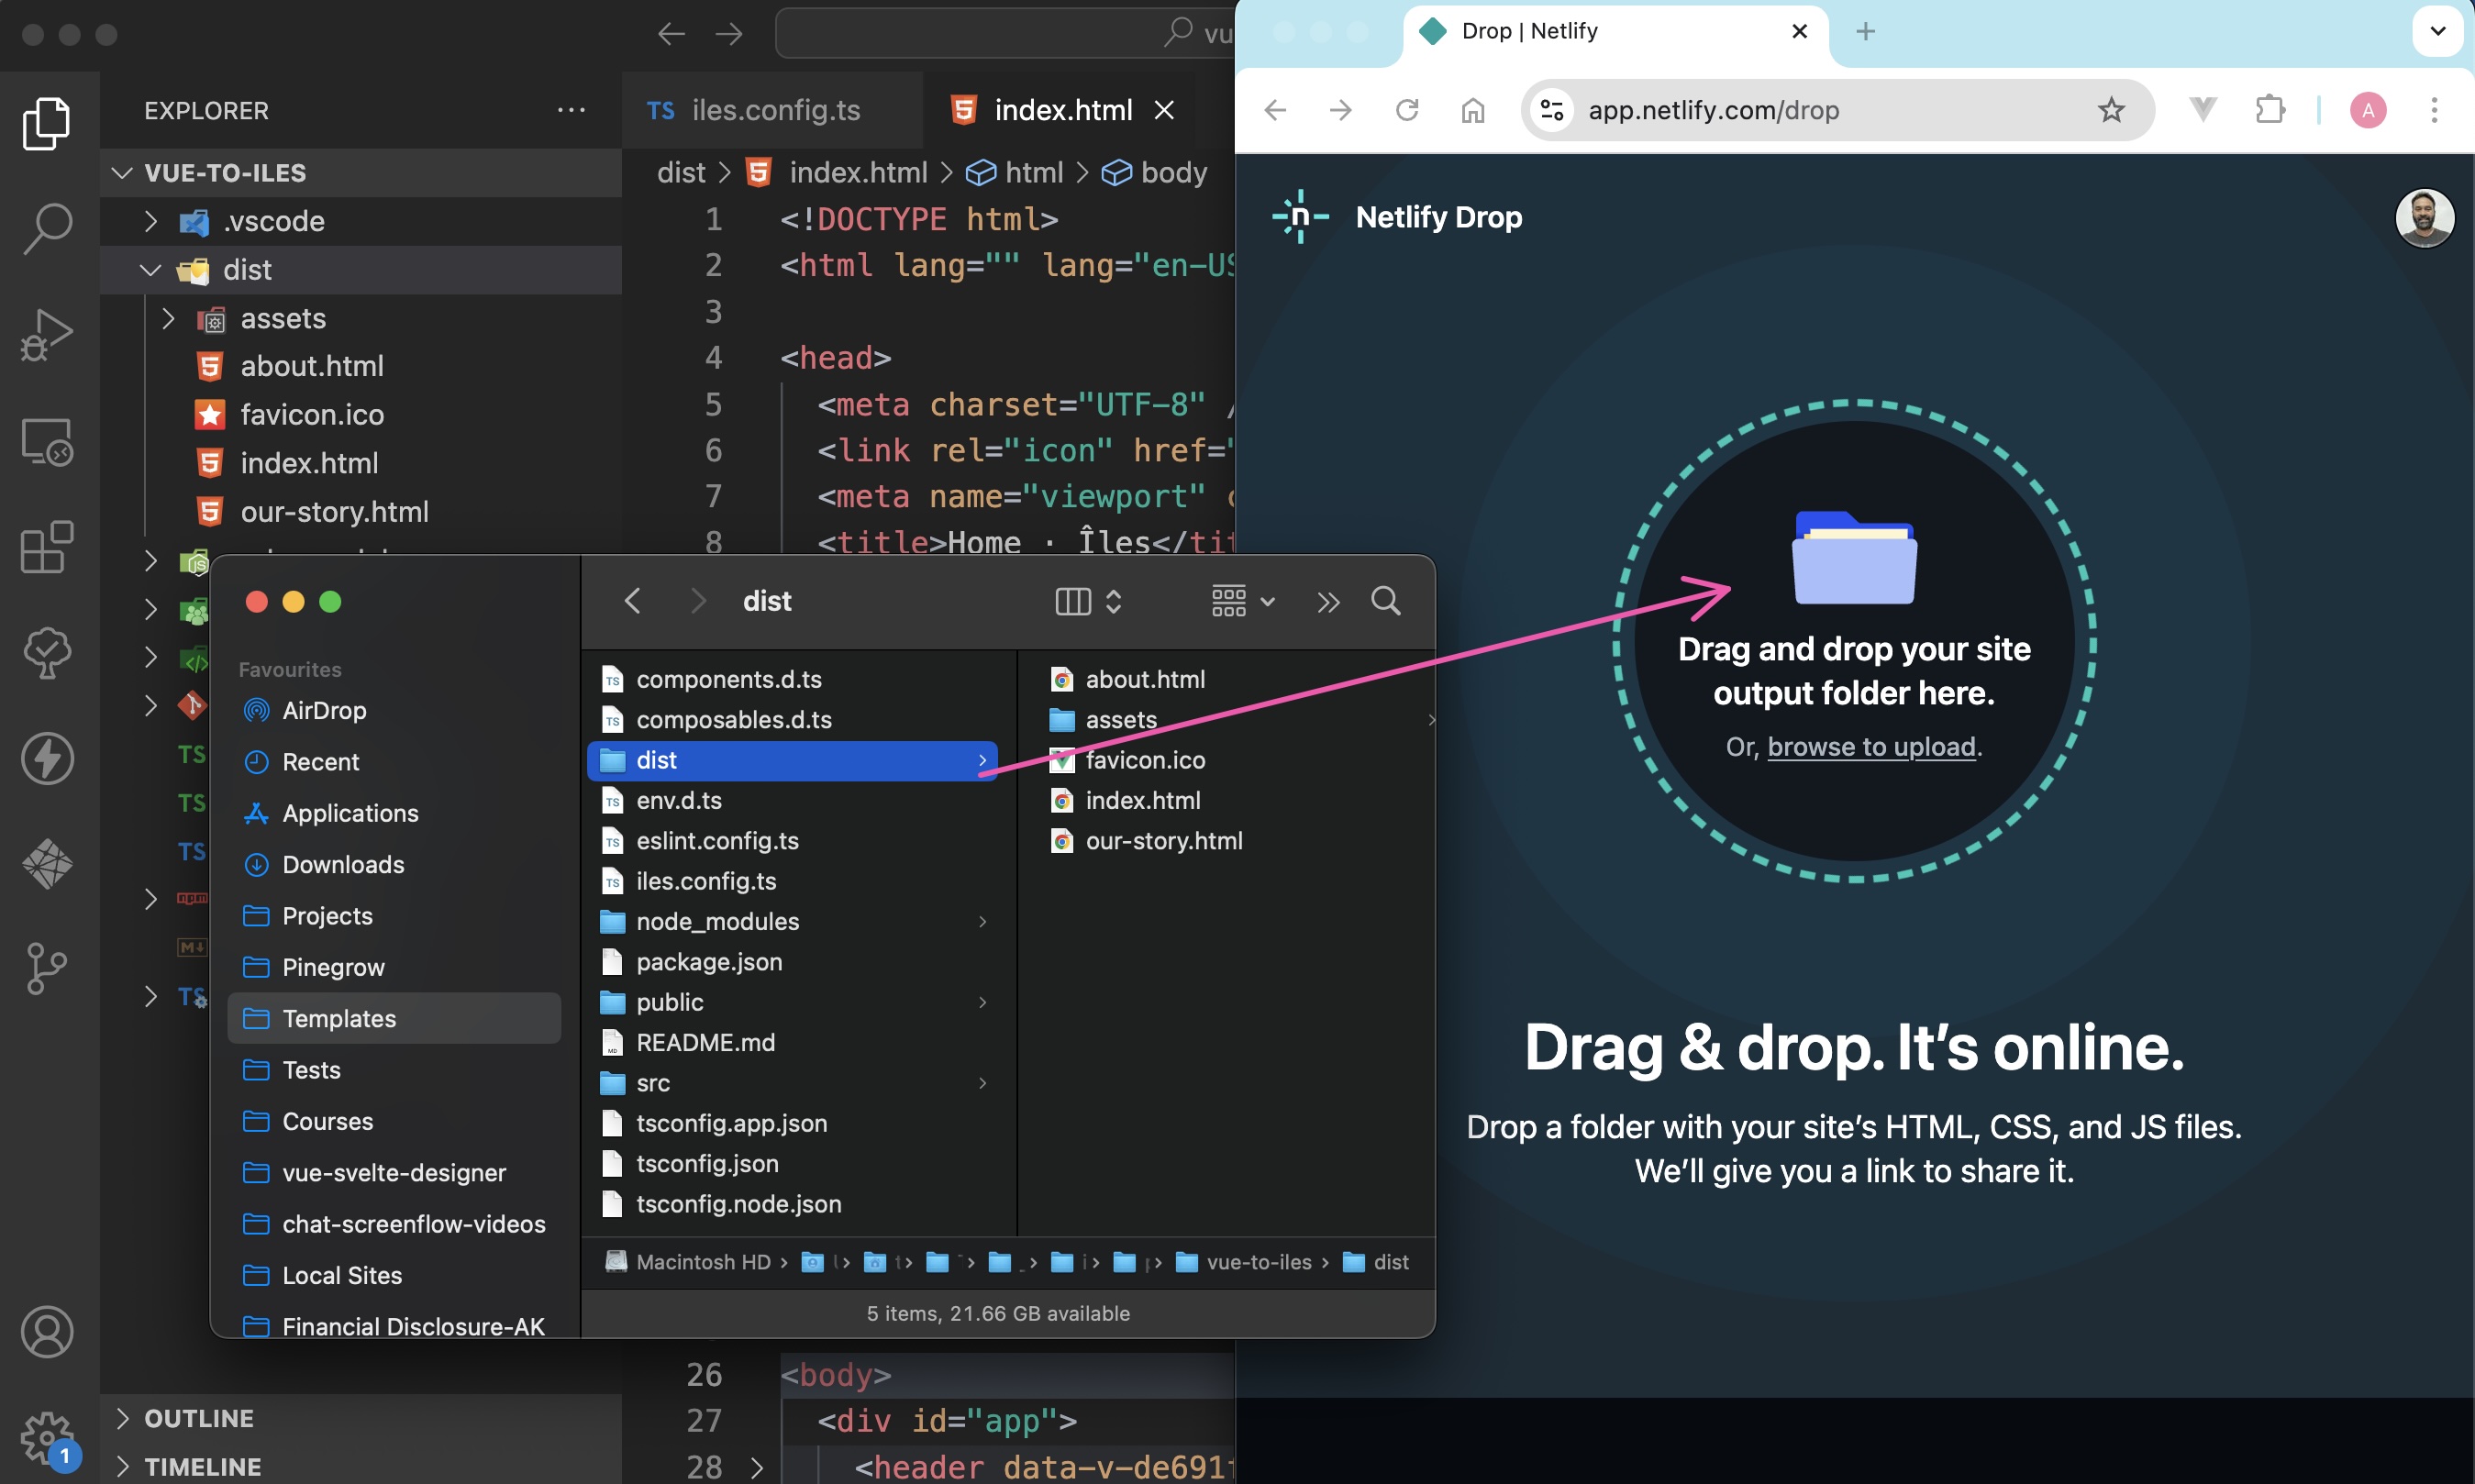
Netlify Drop
If you used Netlify Drop, once deployment has completed successfully, click the Open Production deploy button to preview your site.
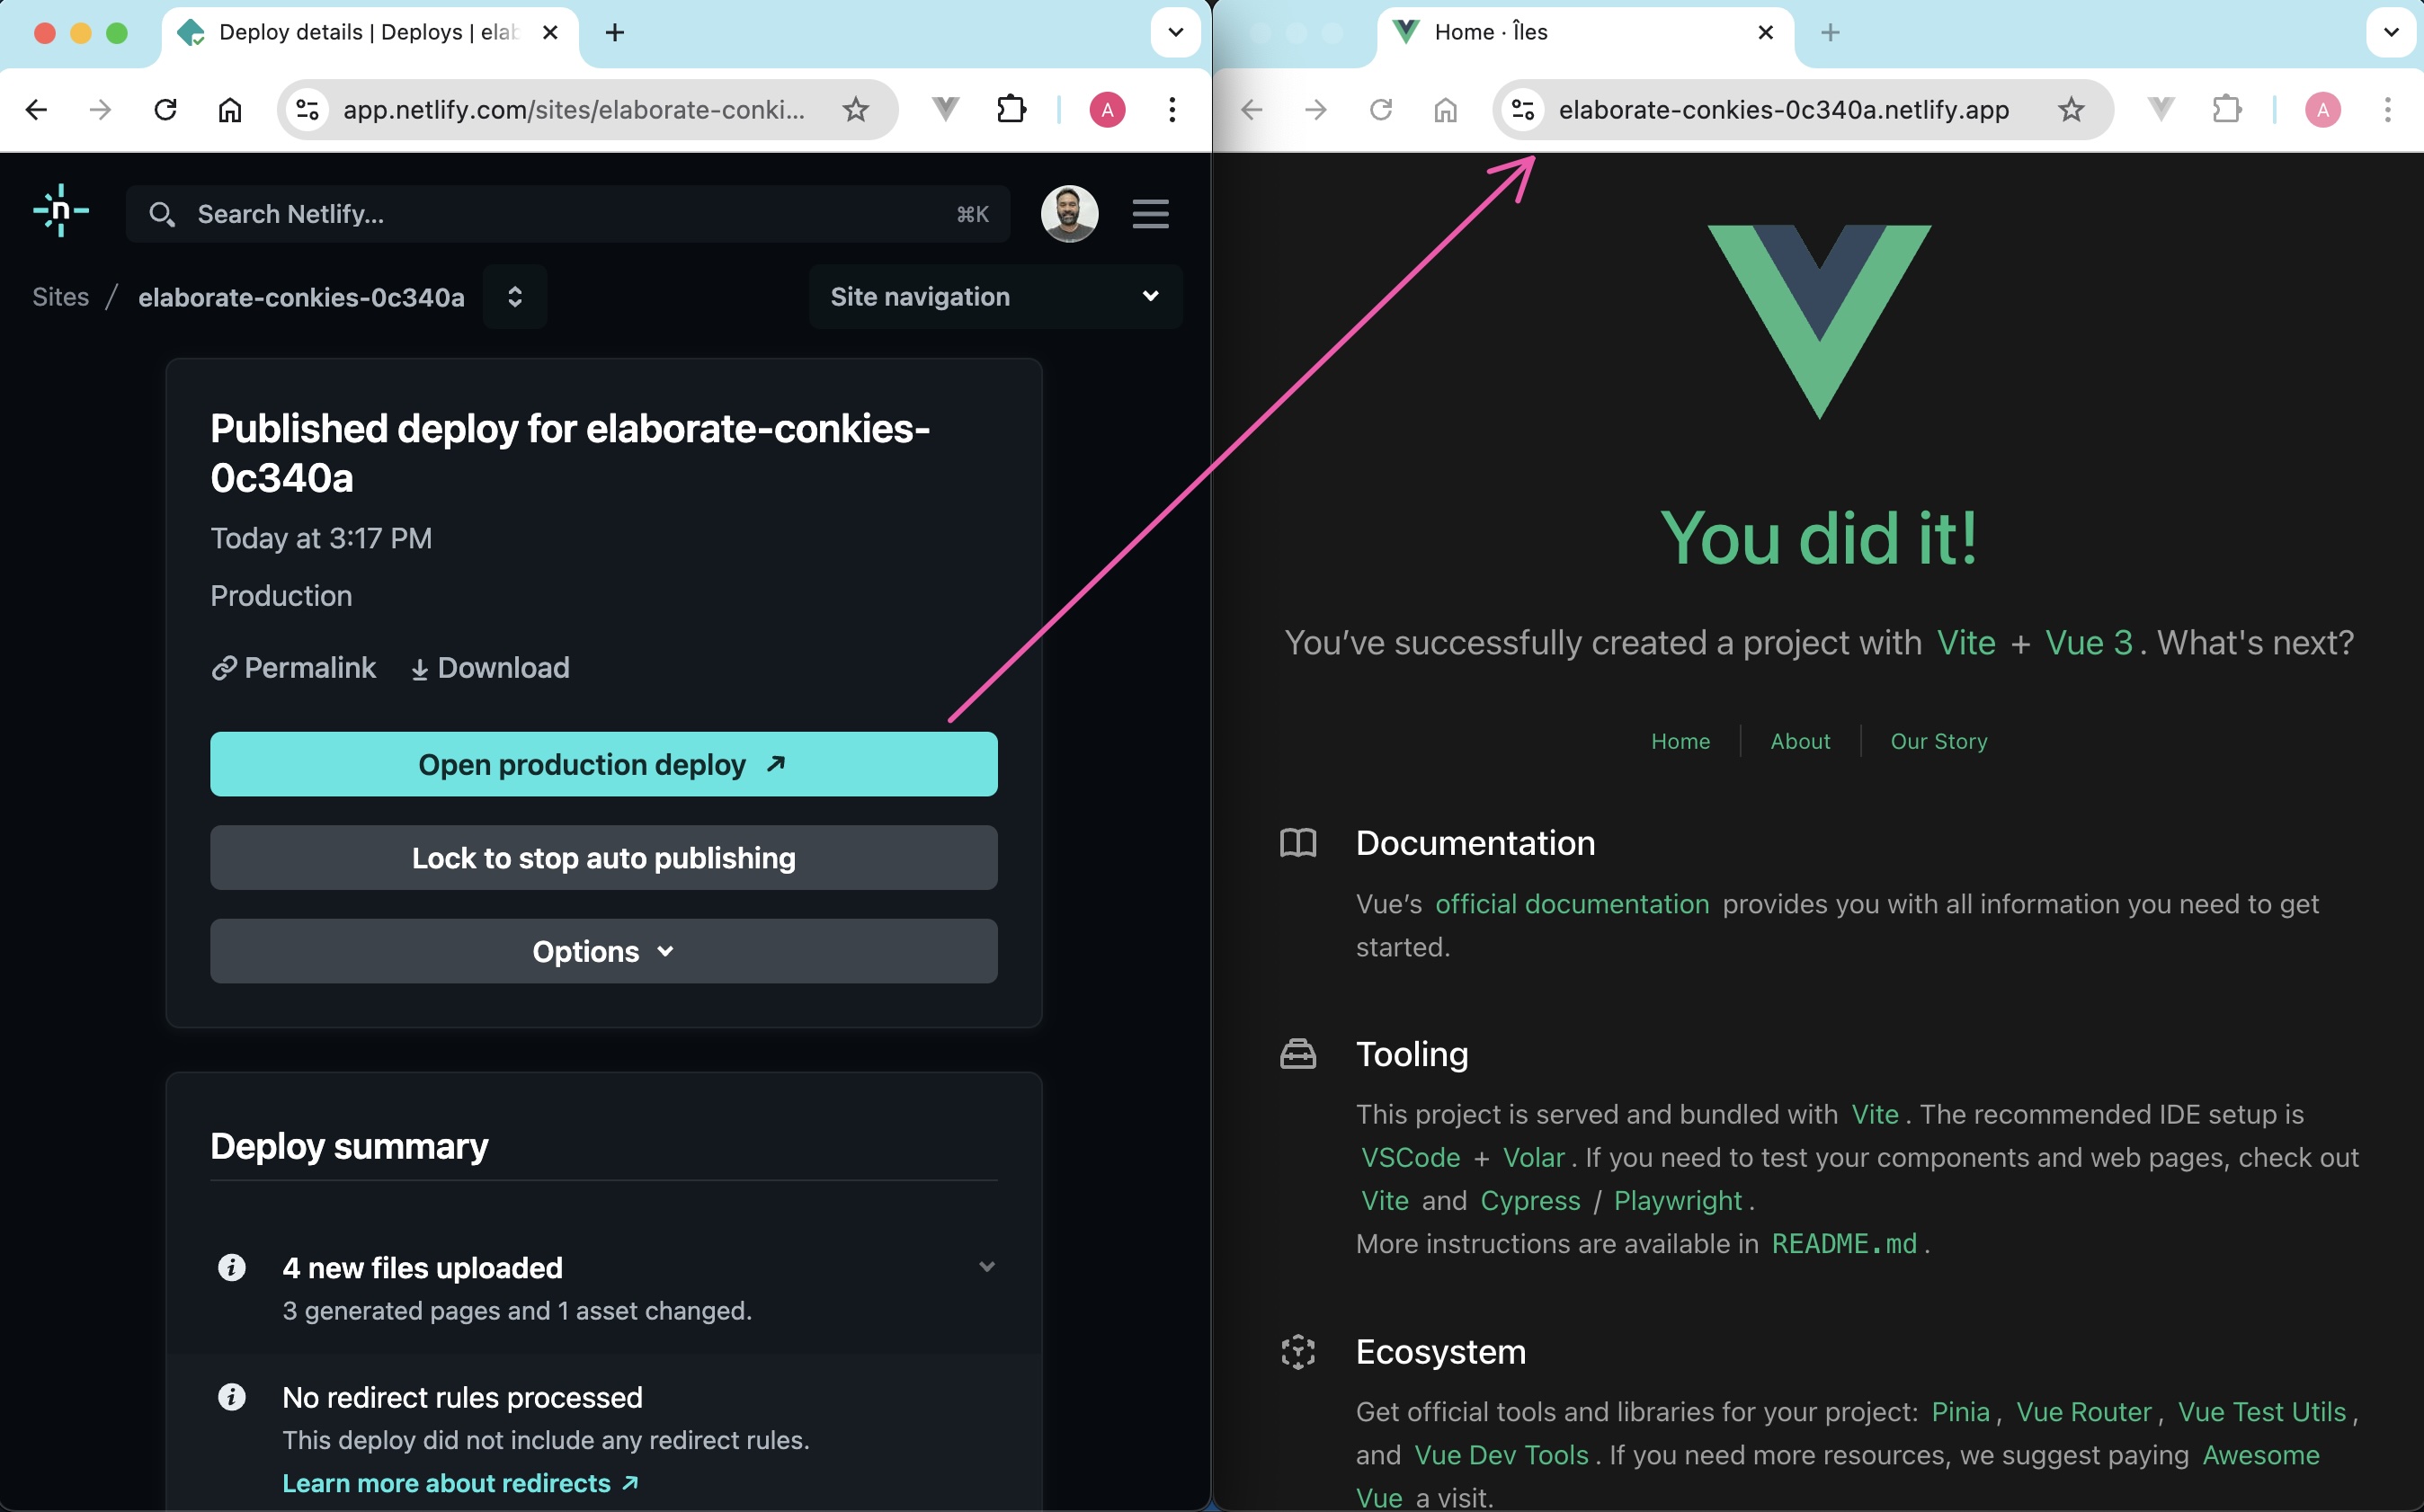
Netlify Preview
What's Next
Now, learn about the project structure to familiarize yourself with the various conventions and best practices in îles.
To add interactive îslands to your static Îles site, explore using islands and frameworks.
Well Done. Have a joyful Îles experience!